Showing posts with label photoshop. Show all posts

Wednesday, September 2, 2009

Imagine Finding Me

Chino Otsuka has a unique collection of photos. She took old snapshots from her childhood and Photoshopped her adult self into the scene. The gallery is called Imagine Finding Me.

I loved these photos and of course while looking wondered if my students could pull this off? I think this could be another interesting project for a photography or multimedia class. Students would have to give some thought to lighting. Clothes. Shadows. Scratches.

It could be fun for kids. Fun for me to grade.


[via Monsters and Rockets]

Tuesday, February 10, 2009

Invisibilia: Photoshop Activity


Cool tutorial on replacing a part of a photo with a drawing. I find them strangely intriguing. In particular, the ones where there is more than one person in the picture. Invisibilia is the web site where the author of the tutorial has posted a bunch of examples. Warning: There is some nudity here. So take a look before you share with students. The top picture here is off the site. The second is one I did following the tutorial.

The author has this to say about the photos:
Maybe the pictures illustrate the idea that we all want to remove ourselves from life, and replace ourselves with fictional, self-created versions of ourself. We want to fictionalise our own existence, and impose order and narrative where there is none. Or maybe it's just tracing. Either way, I hope you enjoy the pics.

I'll be trying it out with my multimedia kids later this year. It isn't hard to do as long as you have Photoshop or some other program that lets you work with layers. I put this one together in about 15 minutes.


[via Make]

[First Image: "Invisible Phone": Captured from Invisiblia: http://www.themanwhofellasleep.com/invisibilia.html]
[2nd Image: Group shot from a DU Poetry Slam (2008): Modified by Al Gunn]

Wednesday, September 17, 2008

Picnik: Online photo editor


I was looking for an easy, convienient and free way for my students to do some simple photo editing. We have Photoshop available in my lab but it isn't loaded on every computer in the school. Not a lot of kids have it at home as it's pretty expensive. So, I went and looked at Adobe's online editing site thinking it might be an alternative. I liked it. It let you do more online than I expected but you have to create a login and register before you can get started. It didn't take much time but it was one extra step. Plus, one more login and password for my students to forget.

I remembered reading about a free online editing site and after a little searching, I found the one reviewed. It's called picnik and it doesn't require any pre-registration before getting started.

When you enter the site you click the Get Started Now! button. This will take anywhere from 10 to 30 seconds depending on the speed of your connection. Only time it's taken longer to start it up for me is when I've been at home and running several programs at once, checking my mail and singing along to a Bob Dylan song. In my lab, with all my kids logging in at the same time, it took about 15 seconds.

You'll be prompted to sign in or create account. You can if you want or you if you just want to get in and edit a picture look a little further down the page and you'll see an Upload Photo button. Click this and you can then navigate to the photo you want to edit and upload it from your computer. It even has a little progress widget to show you that it is working. Once again, this has always taken less than a minute to finish. Once it's done you'll see your picture and this toolbar.



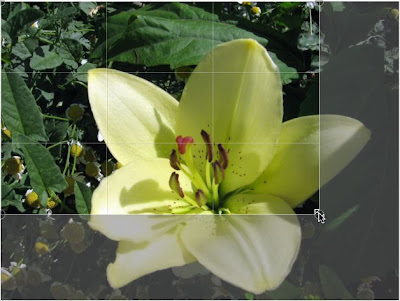
I uploaded an image of a lilly from my backyard.
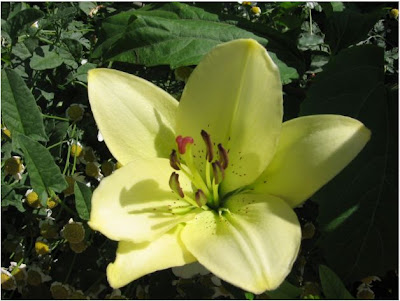


I clicked on the auto-fix tab to see how well the program could fix simple exposure flaws.
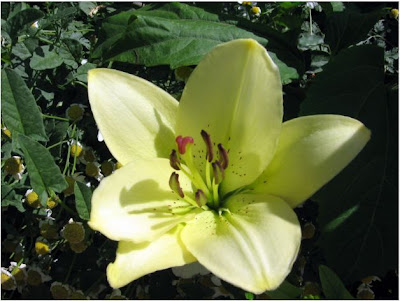


Not a huge change but it did lighten the picture a bit. I've used this feature on other photos and have seen a big difference. Other times, I like the original better or I ignore this button and tweak the settings in Exposure. I shot a picture of that control bar so you could see your options.



I picked the Crop tab next and got a nice surprise. The crop screen is divided into thirds. In my multimedia class this led to a good discussion of the Rule of Thirds. (Nice explanation here if your not familiar with this term.)

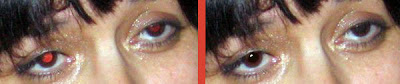
Before leaving the editing section, I wanted to test the red eye tool so I found a picture with a bad case of "demon eyes" and used the tool on that image. I felt the results were perfectly acceptable. Here is a close-up of before and after.


Next I went into the Create section of Picnik and here's a random selection of a few of the effects available applied to my lilly.
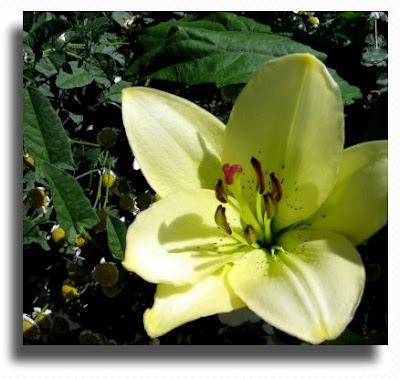


Drop Shadow
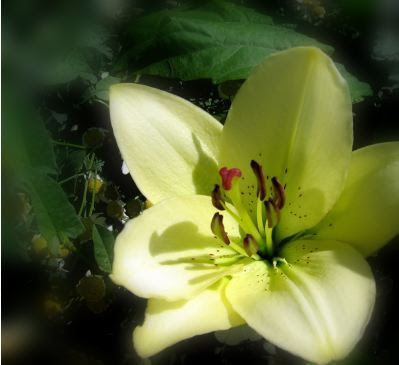


Focal Soften
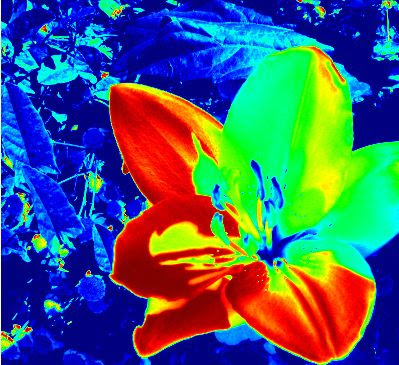


Heat Map
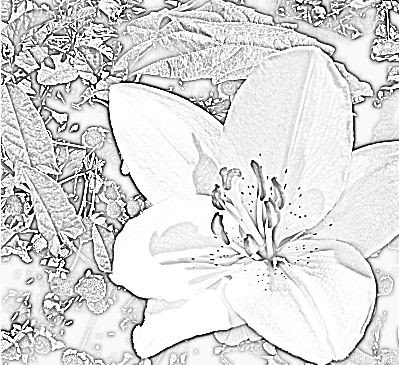


Pencil Sketch
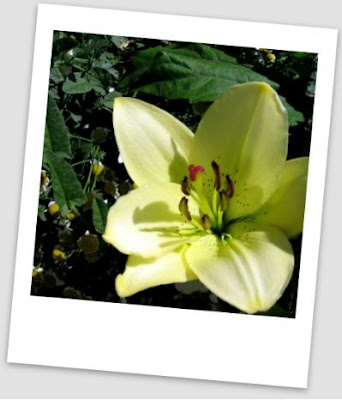


Polaroid Frame


I like this program. I've had kids in my building using this for a couple of weeks now and haven't had any complaints. It's easy to use. It's easy to upload and download your picture. It's free.

[Images: All pictures and graphics created by Al Gunn and he gives up all rights to these photos. Use them as you will.]

Tuesday, February 19, 2008

Photoshop Gradient on a Photo


I was putting together a web page for a class I'm taking and wanted the photograph I was using to gradually fade into the white background. I know how to make solid blocks of color do this using Photoshop and I know that I've done this before with a photo, but I just couldn't remember a key step.

A couple of minutes later after a Google search I found this tutorial that walked me through the process.

[Image: Al Gunn private collection.]

Thursday, December 20, 2007

Way Cool Photoshoot

Saw this photo posted on Strobist the other day along with a video detailing the steps in creating the image. It was made by Brandon Voges at Brouton Stroube Studios (fun site to browse) and involves multiple photos and a lot of Photoshopping. Each person in the shot was photographed separately and then it all was pieced together.

I once had a group of students trying to stage an action shot. There was a lots of different things happening at the same time. They spent hours trying to coordinate all the actors to move simultaneously hoping the camera guy would hit the shutter correctly. One person always messed up their cue and so they kept doing it over and over again. The part I remember clearly was one young man whose job was to jump in the air. The next day he was so sore he couldn't do it anymore. They changed their plan at that point.


After watching the video, I thought what a great project idea for a tech lab or a photography class. Of course you'd have to keep your photo "school safe." No paint guns. No jumping up from a trampoline and landing on mattresses. No milk thrown around... at least not in my lab. But if you have access to a digital camera and Photoshop, your students could use the same techniques that would have their friends scratching their heads and asking, "How'd you do that?"

[Initial Source: Strobist: "A Little Light Painting": Nov 27, 2007]
[Image: Brandon Boges; Bruton|Stroube; http://www.brutonstroube.com/]